
Setting up Work & Gaming Environment for MacBook Pro m1
I just got this new M1 MacBook pro and I'm clueless about everything, yeah I know a bit of mac but need a little effort to get used to this MacBook pro. Well, I will be using this for mainly work though but with a little bit of custom of everything.
Work Environment
My main work is using PHP, at first, I thought I would have to install xampp which I don't like so I use this Homebrew to install PHP first.

First, you need the terminal, I see the default terminal is so plain that it needs to be custom.
Iterm2
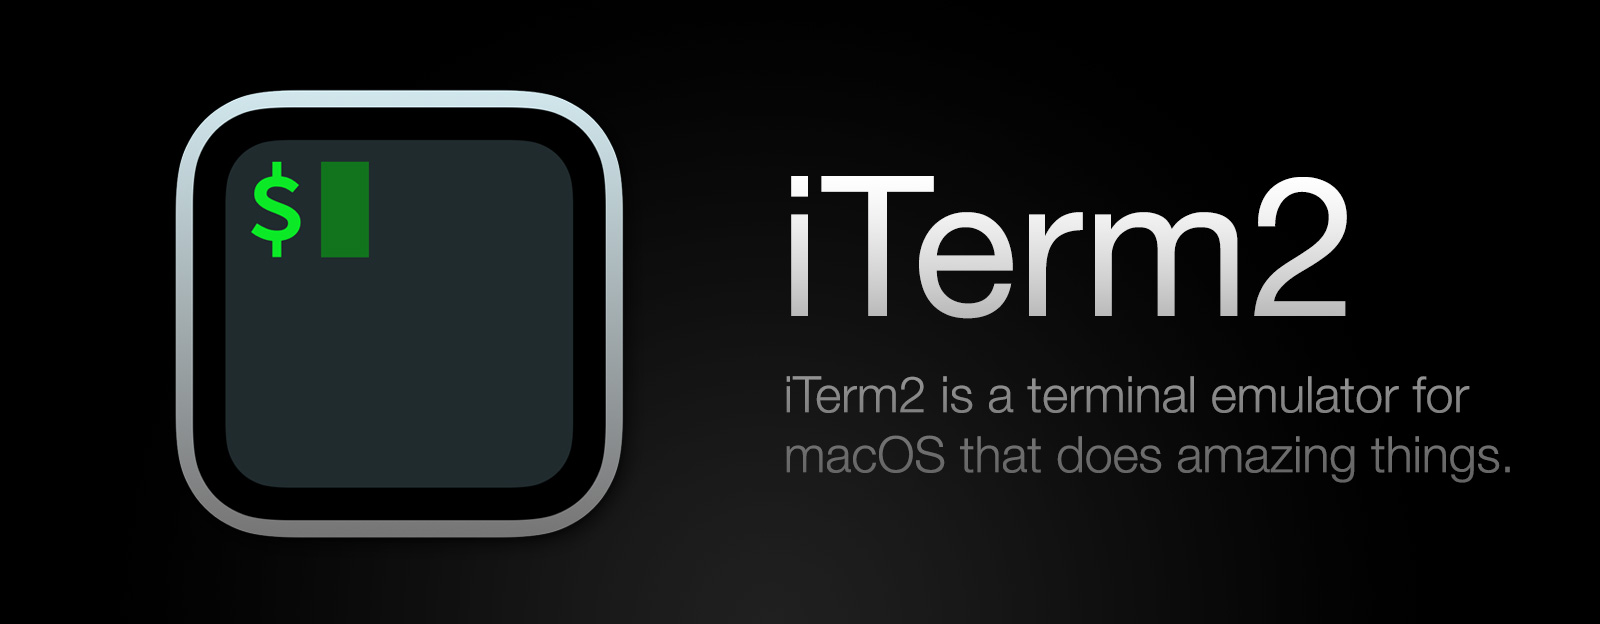
just follow this guy
Valet / Valet+ Way
I had trouble using the manual way, a little bit more but I think it's too much. So I've thought of this, never tried this before so I thought Valet+ is better than valet because it had the plus. Turns out it's messy in M1, I can't just seem to link the php-fpm so I uninstalled it and just use valet and it went smooth.
composer global require laravel/valet
valet install

#change php
valet use [email protected]
valet use [email protected]
Git flow
brew install git-flow-avh

// do not install git-flow it doesn't have bugfix
Troubleshooting
valet use php - Composer detected issues in your platform: Your Composer dependencies require a PHP version
brew unlink [email protected] [email protected] [email protected] [email protected] [email protected]
valet stop
brew link --force --overwrite [email protected]
brew services start [email protected]
composer global update
rm -f ~/.config/valet/valet.sock
valet install
MANUAL WAY
PHP
brew install shivammathur/php/[email protected] (can be any version)
brew link --force --overwrite shivammathur/php/[email protected] can be any version)
Mysql
brew install [email protected]or download from here
Mysql GUI
My personal choice is MySQL workbench, it works for windows, linux, mac. It just perfect...

Troubleshoot
This happens when i'm using mysql 8.0 and the application that i'm using is not supported
'mode' => [
'STRICT_TRANS_TABLES',
'NO_ZERO_IN_DATE',
'NO_ZERO_DATE',
'ERROR_FOR_DIVISION_BY_ZERO',
'NO_ENGINE_SUBSTITUTION',
]Postgres
brew install postgresql
psql postgres
Postgres Gui
 Dave Page
NGINX
brew install nginxThis is somehow a bit different, there were no sites-availables and enables, you have to make it yourself if you want to have virtual sites,
nano /opt/homebrew/etc/nginx/nginx.conf
// change 8080 to 80Virtual hosts
cd /opt/homebrew/etc/nginx
mkdir sites-availables && mkdir sites-enabledserver {
listen 80;
server_name localhost;
#charset koi8-r;
#access_log logs/host.access.log main;
location / {
root html;
index index.html index.htm;
}
#error_page 404 /404.html;
# redirect server error pages to the static page /50x.html
#
error_page 500 502 503 504 /50x.html;
location = /50x.html {
root html;
}
# proxy the PHP scripts to Apache listening on 127.0.0.1:80
#
#location ~ \.php$ {
# proxy_pass http://127.0.0.1;
#}
# pass the PHP scripts to FastCGI server listening on 127.0.0.1:9000
#
#location ~ \.php$ {
# root html;
# fastcgi_pass 127.0.0.1:9000;
# fastcgi_index index.php;
# fastcgi_param SCRIPT_FILENAME /scripts$fastcgi_script_name;
# include fastcgi_params;
#}
# deny access to .htaccess files, if Apache's document root
# concurs with nginx's one
#
#location ~ /\.ht {
# deny all;
#}
}ln -s /opt/homebrew/etc/nginx/sites-availables/default.conf /opt/homebrew/etc/nginx/sites-enabledTroubleshoot - "File not found"
fastcgi_param SCRIPT_FILENAME $document_root$fastcgi_script_name;IDE
Visual Studio Code
Everyone's favorite IDE, somehow in mac it takes a lot of memory, it's lightweight like in windows and linux.

Default terminal editor to nano
echo 'export EDITOR=nano' >> ~/.zshrc
echo 'export VISUAL="$EDITOR"' >> ~/.zshrc
REDIS
Just follow the steps
redis-stack-serverTroubleshooting
Chrome on Mac OS can't upload file
Go to Apple Icon -> System Preferences -> Security & Privacy -> Full disk access -> plus icon -> add google chrome app from application folder
Gaming Environment
My benchmark for gaming is dota 2, with my previous laptop the best graphic archived was from my windows machine, next I tried with Linux ubuntu and it was horrible it was not using my real graphic card, and installing the driver for Linux ubuntu might come with a price, either it will fail to boot and everything will be messy, tasted that.
Now I would like to try dota2 on my mac machine to test how good is the game here, after watching a few youtube I notice that mac machine steam uses the same graphic card software (vulcan api) for me, this fella here is not sufficient and I think it will be the same as Linux steam.
Update 7/8/22 : so I test out dota2 on parallels and crashes, so decided to try again in mac, surprisingly I can use the best graphic setting doesn't crash at all and it's so smooth. So my bad, just use mac machine to play dota2.
I went to the next step of the tinkering, went for windows for mac, install parallels with windows and install steam from there.
At first, there was this trouble downloading windows 11 due to failing no network, so I had to do it manually, register yourself here
https://insider.windows.com/en-us/getting-started#flight
the search on google "windows insider download"
After downloading the file, then drop them in the installation of parallel then it will install by itself then it's done.
After trying installing steam and Dota 2, I think it's not perfect but it's playable and the graphic is acceptable, it uses direct x just like in windows.